How to Change the Owner of Your Nest Thermostat


When you buy through our links, we may earn an affiliate commission.
The Google Nest Thermostat is a great addition to any smart home. But if you no longer need your Nest Thermostat and want to sell or give it away, you’ll need to change the owner.
Remove the Nest Thermostat from Your Account
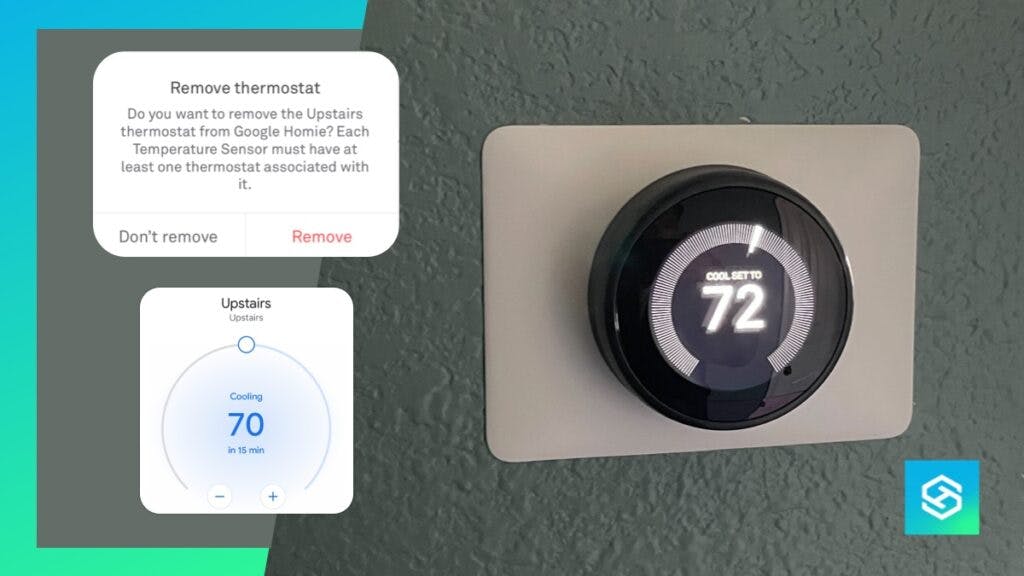
The first step in changing the owner of a Nest Thermostat or Nest Learning Thermostat is removing it from your Nest account or Google account, depending on whether you use the Nest app or Google Home app.
Here’s how you can remove associations to your Nest account from the device:
- Open the Nest app.

- Make sure you’re viewing the correct home. Then, tap the gear icon to open your settings.

- Tap the Nest Thermostat you want to remove.

- Scroll down and select “Remove Nest Thermostat.”

- Confirm your choice.

And here’s how you can begin changing ownership from the Google Home app:
- Open the Google Home app.

- Select “Devices,” then select your Nest Thermostat.

- Tap the settings icon.

- Select “Remove Device” and confirm.

What Happens After Removing a Nest Thermostat from Your Account?
After you remove your Nest Thermostat from your account, you’ll still be able to:
- Control the temperature in your home
- Use Eco Mode through motion sensors
- Use automatic and manual schedules
- Update your thermostat
Because your Nest Thermostat stays connected to your Wi-Fi, it will continue to communicate with Google’s servers. If you don’t want this to continue, disconnect your thermostat from Wi-Fi.
Cancel Any Active Subscriptions
After removing your Nest Thermostat from your account, you’ll need to cancel any active Nest Aware subscriptions tied to your thermostat so you don’t get charged for something you aren’t using.
Here’s how to cancel your subscription through the Google Store:
- Open the Google Subscription Management page.
- Go to the “Subscriptions” page.

- Select your Nest Aware subscription.

- Press the three vertical dots, then choose “Cancel Subscription.”

- Confirm you want to cancel.

And here’s how you can cancel your subscription on the Google Play Store:
- Open the Google Play Store on your mobile device.
- Tap your profile icon.
- Select “Payments & Subscriptions.”
- Tap on your Nest Aware subscription.
- Select “Cancel Subscription” and confirm your choice.
Perform a Factory Reset
If you don’t plan on using your Nest Thermostat again, you’ll have to perform a factory reset. This will allow the new user to start fresh.
If you’re replacing your old thermostat with a new one or moving it to a new house, it’s a good idea to write down your current settings before you reset your Nest Thermostat. This will save you some time while you set the new device up.
Open your thermostat’s settings, then select “Equipment.” Record the following information:
- System wires
- Heating type
- Safety temperature
Now, you can begin your factory reset:
- Open your thermostat’s Quick View menu.
- Select “Settings.”
- Choose “Reset.”
- Select “All Settings.”
- Enter your PIN.
This will clear all your personal settings and reset the device to its original state.
Have the New Owner Set Up the Thermostat
New Nest accounts can only be created through the Google Home app. Here’s how you can set up a Nest Thermostat on the Google Home app:
- Download the Google Home app on your mobile device.
- Sign into your existing Google account, or create a new one.
- Tap the “+” icon, then select “Set Up Device.”
- Press “New Devices” and select the home you want to set it up in.
- Wait for the app to find your thermostat or select it from the list.
- Scan the QR code on the back of your thermostat display.
- Follow the on-screen steps to complete the installation.
After you add your Nest Thermostat to the Google Home app, all members of your household will be able to control it and your other Nest products from the app.
FAQ: How to Change the Owner of Your Nest Thermostat
Will a Factory Reset Remove Me as the Owner of a Nest Thermostat?
After performing a factory reset on your Nest Thermostat, it will no longer be associated with your Nest or Google account.
Factory resetting will revert the thermostat to its original settings — it’ll be like you just took it out of the box.
Can You Remove the Previous Owner from a Nest Thermostat?
Performing a factory reset on a Nest Thermostat should remove it from the previous owner’s account. If this doesn’t work, or if you don’t know the old owner’s PIN, contact the original owner and ask them to remove it from the account.
If you can’t contact the previous owner, contact Nest support for assistance.
Can You Have Multiple Users on a Nest Thermostat?
You can add another user for your Nest Thermostat by adding them to your Household on the Google Home app. Here’s how to do it:
- Open the Google Home app. Make sure you’re viewing the home you want to add the new user to.
- Tap the settings icon.
- Press the “+” icon, then select “Home Member.”
- Enter the email address you want to add, then tap “Next.”
- Select your Nest Thermostat and any other devices you want to share with that person, then tap “Next.”
- Press “Send.”
The new user can accept the invitation in their inbox.
Can I Use the Nest Thermostat Without the App?
Unlike some other Nest devices, the Nest Thermostat works without the app. You can simply use the thermostat dial on your wall to control your heating and air conditioning.
The Nest Learning Thermostat learns your heating and cooling habits by recording your frequently used settings. The goal is to help you save energy and money on heating and cooling bills.
While this feature works without the app, you need to use it for features including:
- Remote thermostat control
- Push notifications
- Home/Away Assist
You can still access basic features without connecting your thermostat to an app. However, you’ll need to create an account if you want to control it from your phone.
Related Articles