Ring Hardwired Doorbell Not Charging. Here’s the Fix
When you buy through our links, we may earn an affiliate commission.
A hardwired Ring Doorbell that won’t charge is a headache. If your Ring Doorbell is not charging, figuring out why is the first step in solving the problem.
Why is My Ring Battery Dying if It’s Hardwired?
When your Ring Doorbell is hardwired to your home’s doorbell wires, the battery should always be charging.
However, for the following hardwired Ring Doorbells, the wires do not actually power the doorbell:
- Ring Video Doorbell
- Ring Video Doorbell 2
- Ring Video Doorbell 3
- Ring Doorbell 3 Plus
Instead, they provide a trickle charge to the battery so you don’t have to remove and charge it yourself.
Unfortunately, some users have reported their hardwired Ring Doorbell dying. If this is happening to you, there are a couple of quick fixes you can try.
Charge the Battery Separately
If your wired Ring Doorbell isn’t charging, the first thing you can try is removing the battery and charging it separately.
This might kickstart the charging process when you reattach the battery. If not, it’ll at least give you more time to diagnose the problem before the battery dies completely.
Before you begin removing the battery to charge it, it’s a good idea to turn power off to the doorbell wires. Once that’s done, follow the steps below:
- Use the screwdriver that came with your Ring Doorbell to remove the security screw at the bottom of the faceplate. Keep it in a safe spot, because you’ll need it later.

- Pull the faceplate up and toward you to remove it from the Doorbell assembly.

- Press the silver battery tab, then slide the battery out of your Doorbell.

- Plug the USB cable that came with your Ring Doorbell into the battery and a wall outlet.

- Wait for the battery to fully charge. You’ll know it’s fully charged when only the green light is illuminated.
- Slide the fully-charged battery back into your Ring Doorbell.
- Reattach the faceplate and secure it with the security screw.
Once you reattach the battery, you can turn power to your doorbell wires back on.
Reboot the Doorbell
Rebooting your Ring Doorbell can clear temporary glitches preventing it from charging with the doorbell wires. The easiest way to reboot a Ring Doorbell is by using the Ring app:
- Open the Ring app.
- Select the three horizontal lines in the top-left corner.

- Tap “Devices” and select your Ring Doorbell.

- Press “Device Health.”

- Scroll down and tap “Reboot This Device.” Confirm your choice.

It will take a few minutes for your Ring Doorbell to reboot. Once it reboots, check to see whether it’s charging.
Troubleshooting a Hardwired Ring Doorbell Not Charging
If none of the quick fixes above worked, you’ll need to start troubleshooting your Ring Doorbell.
Check or Improve Your Wi-Fi Connection
Even if you have high-speed internet, the signal strength between your router and Ring Doorbell could cause charging-related problems.
If your router is too far from your Doorbell, it may lose power and not charge as a result. You can check your Ring Doorbell’s signal strength in the Ring app:
- Open the Ring app.
- Tap the three horizontal lines in the top-left corner.
- Select “Devices,” then select your Ring Doorbell.
- Tap “Device Health.”
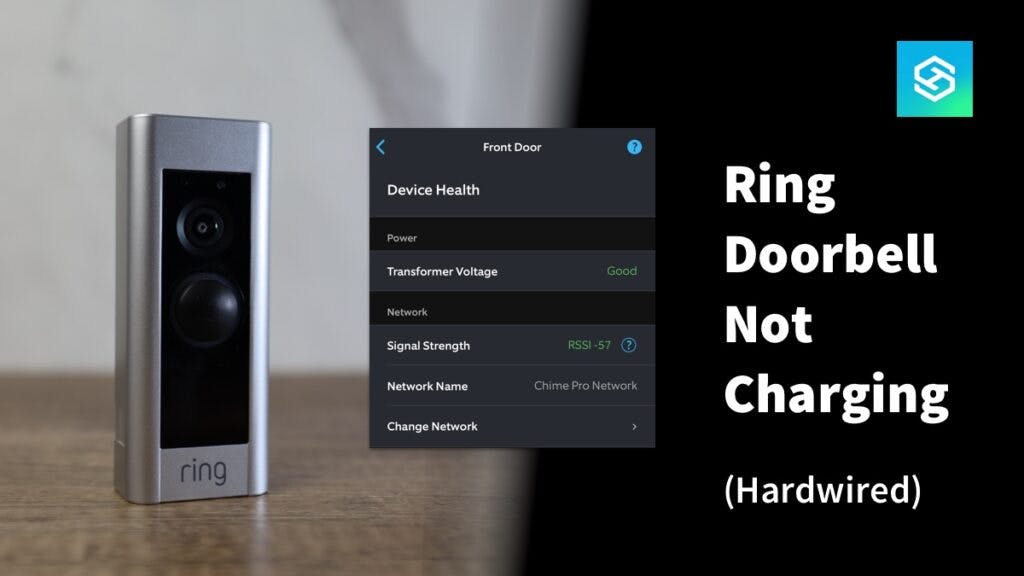
Look under “Network” to find your Signal Strength noted as “RSSI (X),” with the X indicating the value. Generally, values closer to zero are optimal. You’ll start to have problems if the RSSI is -60 or lower.

You can also tell if you have good signal strength based on the color or the RSSI value. If the font is green, the Wi-Fi connection isn’t a problem. But if it’s red, you should take some steps to improve your signal strength:
- Clear a path between your router and Doorbell.
- Move the router closer to the Ring Doorbell.
- Keep the router at least two feet off the ground.
- Use a dedicated network for your Ring Doorbell.
- Amplify the signal strength with a Wi-Fi extender or Ring Chime Pro.

Consider Extreme Temperatures
Because Ring Doorbells use lithium batteries, the weather can affect the power supply. Lithium batteries may not hold a charge when temperatures drop below 36 degrees F or rise above 113 degrees F.
When outdoor temperatures soar to 120+ or dive below -5°F, the Ring Doorbell battery will most likely stop working altogether.
To prevent your Ring Doorbell from becoming damaged due to heat or cold:
- Shade it from direct sunlight
- Pay attention to weather reports
- Bring it inside when in extreme heat or cold
Look for Installation Errors
To ensure proper installation, both doorbell wires should be tightly wrapped around the two screws on the Ring Doorbell’s mounting bracket. It doesn’t matter which wire is attached to which screw.
But, wires and screws that are too tight or too loose may disrupt the power supply. Some users have said that loosening the screws on the mounting bracket helps.
Make sure to turn off power to the doorbell by flipping the circuit breaker before handling any wires.
Check for Damaged Wires
If the wires seem like they’re installed correctly, check them for corrosion or damage. Corroded wires should be stripped, cleaned, or replaced, and damaged wires should be replaced.
While you’re looking at the wires, clean any residue off the mounting bracket or screws, as this could interfere with the connection.
Make sure to turn off power to the doorbell flipping the circuit breaker before handling any wires.
Check Your Voltage

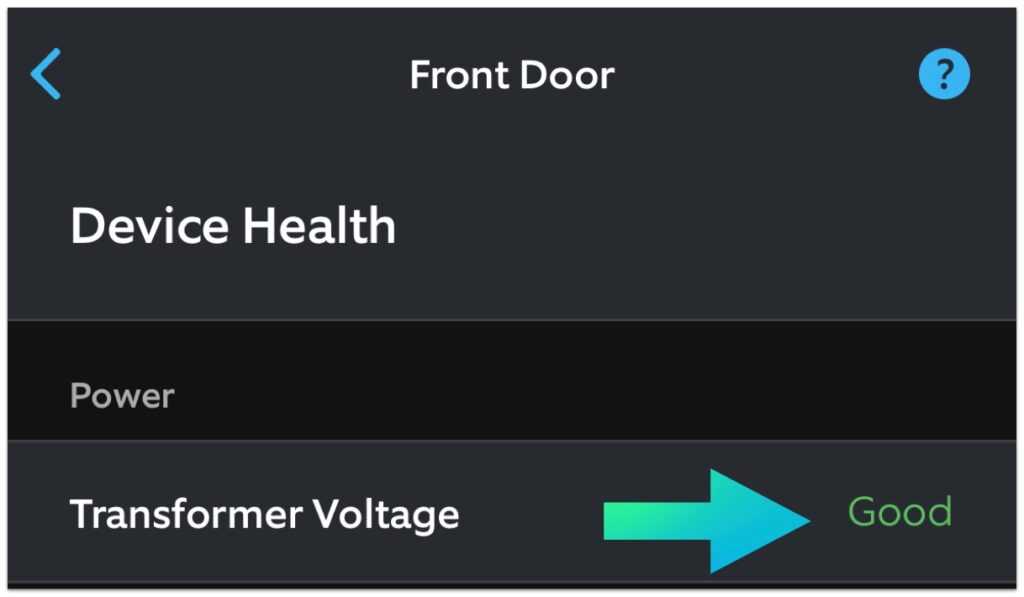
Hardwired Ring Doorbells need 8-24 volts of AC power to operate. If your wired Ring Doorbell isn’t charging, the next step is to make sure it’s receiving enough voltage.
You can check your Ring Doorbell’s voltage with a voltage reader. Follow the instructions that came with the device to read the voltage supplied to the doorbell.
If your existing doorbell transformer doesn’t meet the voltage requirements, consider purchasing the Ring Doorbell Transformer. It’s compatible with all hardwired Ring Doorbells and can replace most doorbell transformers.
Factory Reset the Ring Doorbell
If nothing is wrong with your Wi-Fi connection, wiring, and you can’t find any temporary glitches, it’s probably time for a factory reset.
Factory resetting a Ring Doorbell reverts it to its default state. You’ll need to set it up like new again in the Ring app, but it’s a good last resort before replacing the Doorbell.
- Remove your Ring Doorbell from the wall.
- Unscrew all four screws holding it to the mounting bracket, then remove it from the mounting bracket.
- Look for a small orange button on the back of the Doorbell — this is the reset button. Press and hold it for about 10 seconds.

Once the reset is complete, the light on the front will begin spinning white to indicate that it’s in setup mode.
Replace Your Ring Doorbell
If nothing has worked so far, your Ring Doorbell could be defective. Ring offers a one-year limited warranty on all their devices. If you’re still under warranty, contact Ring Support for a free replacement.
If you’re not under warranty, you’ll probably just need to purchase a new Ring Doorbell.
Quick Tips to Optimize Your Ring Doorbell’s Battery Life
Your Ring Doorbell’s battery life can last anywhere from a few days to 12 months, depending on how you use it. To prevent your battery from draining prematurely, you can:
- Reduce your recording length
- Adjust your motion settings
- Keep it at a good temperature
- Improve your Wi-Fi connection
- Limit how often you open Live View
FAQ: Hardwired Ring Doorbell Not Charging
Ring Doorbell Won’t Charge
If your Ring Doorbell battery isn’t charging at all, or if the light isn’t flashing when it’s plugged in, try using a different power outlet or replacing the USB charging cord.
If that doesn’t work, the battery may be defective. In that case, you’ll need to replace it.
Is There a Ring Doorbell That Doesn’t Have a Battery?
If you’d rather get rid of the battery altogether and just have a Ring Doorbell that runs on AC power, you can opt for:
These three models only run on a wired connection, while all other Ring Doorbells have a battery pack.
The Ring Doorbell Pro is hardwired to existing doorbell wires, and the Ring Doorbell Elite uses an ethernet cable and requires professional installation.
Related Articles

