More Privacy? Here’s How to Lock Down Your Facebook Profile!

By Trae Jacobs,

When you buy through our links, we may earn an affiliate commission.
We all deserve privacy on social media. Luckily, Facebook has recently rolled out a profile locking feature that helps increase your privacy and security online.
Here’s how you can lock down your Facebook profile using Profile Lock, and some other ways to increase your privacy.
What is the Facebook Profile Lock?
Facebook’s Profile Lock is a new feature that allows you to keep your profile and the content you post private from the ever-prying eyes of curious strangers.
Unlike changing privacy settings, this feature only applies to people not on your Friends list. It allows you to have specific boundaries for your friends and strangers on Facebook.
When you lock your Facebook account, nobody other than your friends can view your cover photo, past or future posts, stories, or any other personal details.
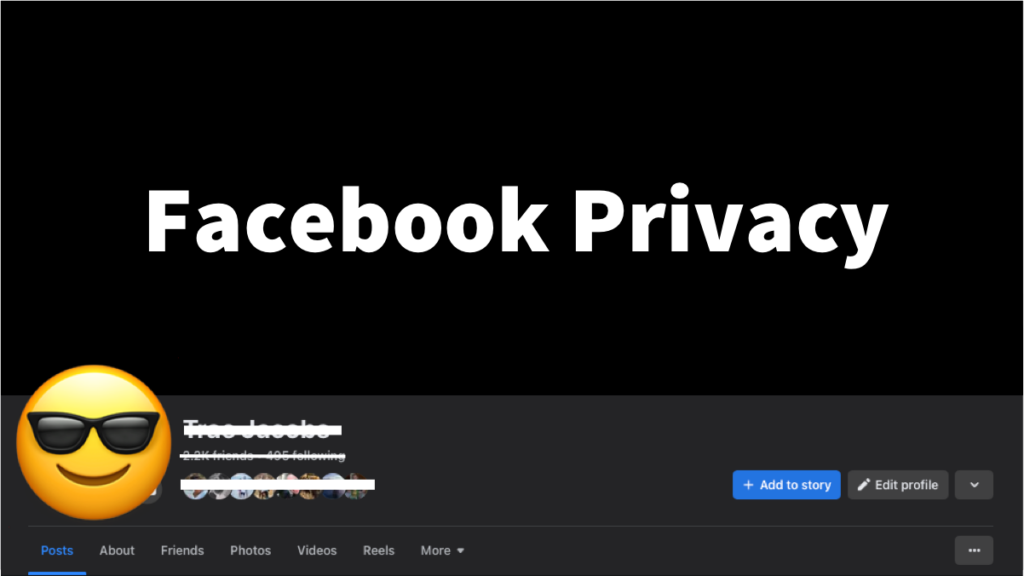
How to Lock a Facebook Profile
Before we get into locking your Facebook profile, note that not everyone has the Profile Lock feature. It wasn’t available on my profile, so it may not be available in the US yet.
But, if you have the feature available, locking your Facebook profile is easy. Here’s how to lock down Facebook:
- Open your Facebook profile on a web browser or smartphone.
- Press the three dots to the right of “Edit Profile.”
- Select “Lock Profile” and confirm on the next page.
You can follow the same steps if you ever want to unlock your profile. Just press “Unlock Profile” instead of “Lock Profile.”
If you’re like me and don’t see “Profile Lock,” keep reading to learn some other ways to make your profile more secure.
What to Do When “Lock Profile” is Unavailable
Unfortunately, some areas haven’t yet received the option to lock their Facebook profiles. If your location hasn’t received the Profile Lock update yet, there are still many ways you can increase your privacy on Facebook.
- Open your Facebook Settings by clicking you profile picture in the upper right hand of the screen, followed by “Settings & Privacy” then “Settings.”

- Select “Privacy” on desktop or “Privacy Checkup” on mobile.

- Press “Check a few important settings” under “Privacy Shortcuts” for desktop. Skip this step on mobile.

- Select “Who can see what you share,” then press “Continue.”

- Choose who can see the information you post.

Some settings I recommend changing here include:
- Friends and Following: Change who can view your Friends list and the Pages you follow.
- Posts and Stories: Limit who can see your future posts, stories, and previous posts.
You can’t make cover photos or profile pictures private, but you can adjust who can view all your other photos:
- Open the photo you want to make private.
- Press the three dots next to your name.
- Select “Edit Privacy.”
- Choose who you want to see the photo. I recommend Friends Only or Specific Friends Only.

How to Know a Facebook Profile is Locked
If someone has locked their Facebook profile, you’ll see a security badge with a keyhole when you visit their profile.
The only way you can see a user’s locked profile is by sending them a friend request and waiting for them to accept it.
Can You Make Posts Public with a Locked Profile?
Another characteristic of the Facebook locking feature is that it doesn’t allow users to post publicly, ensuring further privacy.
You’ll have to unlock your Facebook account to make future posts public.
Other Ways to Secure Your Facebook Profile
There are a few other ways you can increase the security of your Facebook profile:
- Take a break from certain users
- Block users
- Edit your public details
- Remove your profile from search engines
- Turn on tag notifications
Take a Break from Certain People or Block Users
There are two ways to ensure a certain individual can’t find you on Facebook. You can block them or “take a break” from them.
Facebook’s “Take a Break” option makes it so you see less of what the person posts, and you won’t be prompted to message them or tag them in photos. Here’s how you can take a break from someone on Facebook:
- Visit the person’s Facebook profile.
- Press the “Friends” button.
- Select “Take a Break.”

There’s no time limit when you take a break from someone on Facebook. You decide how long the Facebook break lasts and when it commences.
Blocking someone on Facebook makes you completely inaccessible to the blocked person, and makes the blocked person completely inaccessible to you. Here’s how to block someone:
- Visit their Facebook profile.
- Press the three dot menu.
- Select “Block.”

Edit Your Public Details
A surefire way to increase your privacy on Facebook is making sure particular details are not accessible to the public, such as your full name or phone number.
Here’s how you can edit what details are public on your Facebook profile:
- Open your Facebook profile.
- Select “Edit Details” in your Intro section.
- Edit the privacy settings on the right side of each section.

Remove Your Profile from Search Engines
Your Facebook profile might pop up on search results when someone looks up your name. Here’s how to prevent this:
- Open your Facebook Settings.
- Select “Privacy.”
- Look under “How people can find and contact you.”
- Make sure “Do you want search engines outside of Facebook to link to your profile?” is toggled to “No.”
Turn On Photo and Post Tag Notifications
Having notifications sent to your phone or email when you’re tagged in a post is a great privacy safeguard. You can also change your settings so no one can tag you in a post or photo until you approve it. Here’s how to turn on your tagging notifications:
- Open your Facebook Settings.
- Select “Notifications.”
- Make sure “Tags” are turned on.
If you want to change your settings to approve post tags manually, follow the steps below:
- Open your Facebook Settings.
- Select “Privacy.”
- Choose “Profile and Tagging.”
- Toggle “Review posts you’re tagged in before the post appears on your profile” on.
Related Articles
How to Quickly Change the Order of Photos in a Facebook Post
100 Instagram Abbreviations and Slang You Should Probably Know
Can I Get Facebook on My Smart TV?


