How to Connect AirPods Max to Windows PC in 5 Steps
When you buy through our links, we may earn an affiliate commission.
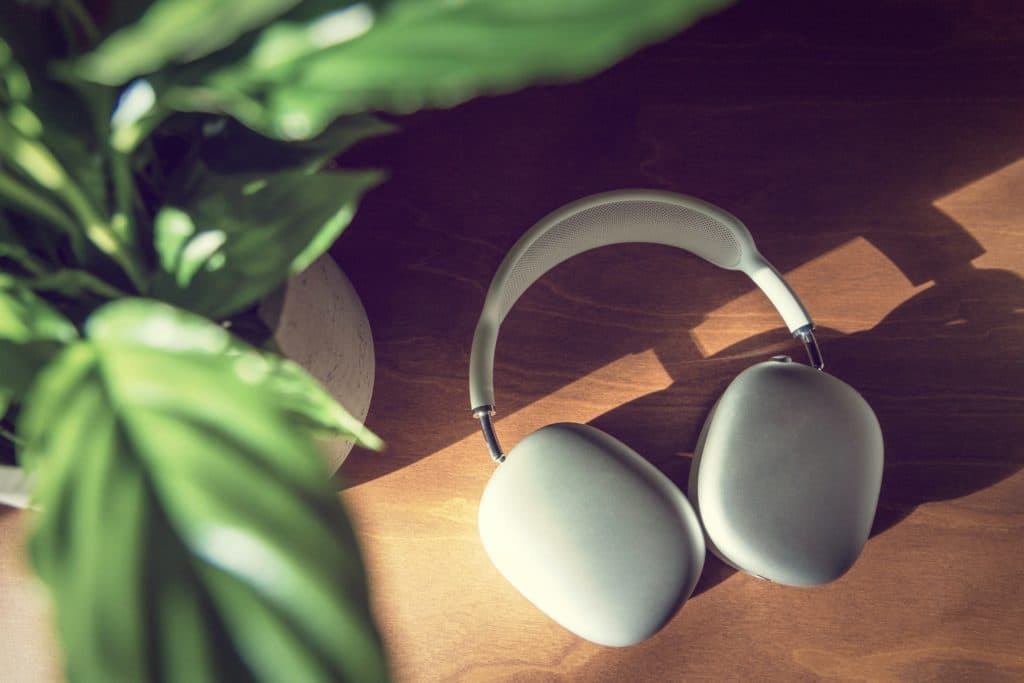
AirPods Max are Apple’s newest over-ear headphones, with features like Active Noise Cancellation, transparency mode, and spatial audio. They’re also easy to connect to your iPhone or iPad using iCloud. But what about connecting them to your Windows PC?
Luckily, it’s not as complicated as you might think. Below, we will walk you through the process step-by-step so you can start enjoying your new headphones as soon as possible. Keep reading to learn all the steps required to connect your AirPods Max to your Windows PC!
How to Connect AirPods Max to Windows PC in 5 Steps
Combining great sound quality with portability, the AirPods Max are perfect for listening to music, videos, or podcasts on any Bluetooth-enabled device.
If you want to connect your AirPods Max to your Windows PC, follow these five simple steps:
- Ensure your PC is Bluetooth-compatible
- Download and install the required Bluetooth drivers
- Put your AirPods Max into pairing mode
- Enable Bluetooth on your Windows PC
- Adjust the volume settings
Below, we will provide a more detailed explanation of each of the above steps. Keep reading to learn how to make this process work for you!
Ensure Your PC is Bluetooth-Compatible
AirPods Max connect to different devices through Bluetooth rather than a wired connection. So, before connecting your AirPods to your Windows PC, ensure your PC has Bluetooth capabilities. Luckily, most modern computers come with Bluetooth built-in.
When in doubt, open your PC’s search bar and search for “Bluetooth.” If you see a “Bluetooth Options” menu or anything similar, your computer likely has built-in Bluetooth.
Download and Install the Required Bluetooth Drivers
In order to connect your AirPods Max to a Windows PC, you might need to download and install the updated Bluetooth drivers first. Visit your laptop manufacturer’s website and search for “Bluetooth drivers.” If there’s a recent update available, download and install the required files.
Once the drivers finish downloading, open the file and follow the on-screen prompts to install them. You may have to restart your computer to complete the process. As soon as the installation is complete, your computer should be ready to pair with your AirPods Max.
Put Your AirPods Max into Pairing Mode
Before you can pair your AirPods Max with your Windows PC, you will need to put them into pairing mode. Press and hold the Noise Control button on your AirPods Max for approximately five seconds or until the LED status light begins flashing white, indicating that your AirPods are now in pairing mode.
Enable Bluetooth on Your Windows PC
To pair your AirPods Max with your Windows PC, you must enable Bluetooth on your computer. To do this, open the Control Panel and go to “Hardware and Sound.” Under “Devices and Printers,” select “Add a Device.” This will open the Add Device wizard, which will search for Bluetooth devices within range.
Select your AirPods Max and follow the instructions on the screen. Once connected, you’ll be able to listen to computer audio through your wireless headphones, just as if they were connected through a wire.
Keep in mind, however, that Bluetooth tends to drain your computer’s battery more quickly. For this reason, you may want to disable Bluetooth when you’re not using it.
If you are having some pairing issues, don’t worry, we’ve got great ways to help!
Adjust the Volume Settings
The Windows system volume, by default, will control the volume of your AirPods Max or mute them. You can change this setting in the AirPods Max settings menu. To do so, open the Settings app on your Windows PC and go to the Devices page. Select the “Bluetooth & Other Devices” tab and find your AirPods Max in the list of connected devices.
Click the “Edit” button next to your AirPods Max and select “Sound.” From here, you can choose whether you want the volume buttons on your AirPods Max to control the Windows system volume or the app volume. If you choose to control the app volume, you can also choose which app you want to adjust the volume for.
Keep in mind that not all apps support this feature. Once you’ve made your selection, click “Done” to save your changes. After that, you should be able to use the volume buttons on your AirPods Max to adjust the volume in your chosen app as desired.
Conclusion
Now that you know how to connect your AirPods Max to a Windows PC, you can enjoy all the features and benefits they offer. Whether you’re using them for music, gaming, or just general use, you’ll be able to do so without any wires getting in the way.
Be sure to take advantage of the volume control settings so you can adjust the sound to your liking. With these tips, you’ll get the most out of your AirPods Max. Just remember to disable Bluetooth when you’re not using it in order to save battery life.

