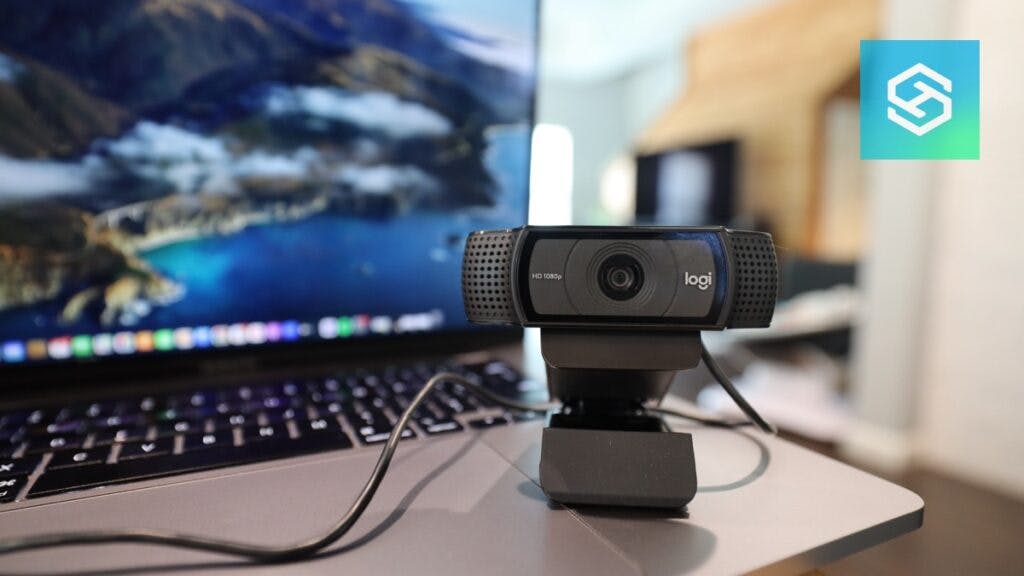
Can I Connect a Webcam to My MacBook?
By Trae Jacobs,
When you buy through our links, we may earn an affiliate commission.
While all MacBooks come with a built-in camera, an external webcam can offer more placement versatility and better features.
Connecting an external webcam to your MacBook is easy and straightforward. Here’s how you can do it.
How to Connect an External Webcam to a MacBook
All MacBooks manufactured today come with a built-in FaceTime camera. However, because this camera is built-in to the computer, you have almost no flexibility with it.
Connecting an external USB webcam can give you more placement flexibility, better camera quality, and a wider field of view.
Here’s how you can connect an external USB webcam to your MacBook:
- Attach the USB cord to your webcam, then attach the other end to an available USB port on your MacBook. Depending on the age of your Mac, you may need an adapter that includes a USB port.

- Wait for your MacBook to identify the external webcam.
- Open the program you want to use the webcam with.
Depending on which webcam you have, you may need to install a specific set of drivers or a third-party app before it will work. Check your user manual for details.
How to Use an External Webcam on MacBook
Once you connect your webcam to your MacBook and install any necessary drivers or apps, you can begin using it immediately.
However, since MacBooks already have a built-in camera, you’ll need to edit your settings to make your webcam the default camera in different applications.
- FaceTime: Click the “Video” menu and select your webcam under the “Cameras” subm

- Photo Booth: Click the “Camera” menu and select your webcam.

- Zoom: Select “Video” from the Zoom settings menu, then select your webcam from the dropdown menu under “Cameras.”

Why Use an External Webcam?
Even though MacBooks have a built-in camera, using an external webcam offers multiple benefits that FaceTime cameras simply do not. Some of these include:
- Higher quality
- A wider field of view
- More placement flexibility
- Additional features
- Better security
While the FaceTime camera is fine for quick video calls with friends and family, anyone who makes a lot of work calls or enjoys streaming video games can benefit from an external webcam.
Best Webcams for a MacBook
The latest MacBook Air and MacBook Pro both feature 1080p cameras, but some older models feature 720p built-in cameras. Their field of view is around 54 degrees.
If you’d like to increase your video quality, field of view, and overall experience while making video calls, the following are some of the best webcams on the market.
| Webcam | Video Quality | Field of View | Connection Method | Additional Features |
| Logitech Brio | Adjustable between 720p and 4K resolution, up to 90 fps | Adjustable between 65-90 degrees | Type C USB cable | Noise-canceling dual microphones, RightLight 3, built-in privacy shade |
| eMeet C960 2K | 2K resolution at 30 fps | 76 degrees | USB cable | Automatic low light correction, noise-canceling dual microphones, autofocus, built-in privacy shade |
| Razer Kiyo Pro | Adjustable up to 1080p, up to 60 fps | Adjustable between 80-103 degrees | USB cable | Adjustable ring light, autofocus, image quality customization |
| Logitech StreamCam | 1080p at 60 fps | 78 degrees | Type C USB cable | Auto-framing, intelligent exposure, autofocus |
If you want the best quality for meetings while working from home, go with the Logitech Brio. If you’re looking for the widest field of view for video calling with the whole family, I recommend the Razer Kiyo Pro.
And for new content creators looking for a budget option, the eMeet C960 2K is your best bet.
Troubleshooting: Can I Connect a Webcam to My MacBook?
My Webcam Won’t Connect to My MacBook
If your external webcam won’t connect to your MacBook, first make sure your Privacy & Security settings allow new devices to connect:
- Open your System Preferences.
- Select “Privacy & Security.”

- Select “Camera” and make sure the application you want to use has access to your camera.


- Go back to the Privacy & Security settings and scroll until you see “Allow Accessories to Connect” under “Security.”
- Select “Always” or “Automatically When Unlocked.”
If your camera still won’t connect, you’ll need to do some troubleshooting:
- Update your macOS
- Connect the camera to another USB port
- Uninstall and reinstall any necessary drivers
Why is My Webcam Quality So Bad?
If your webcam quality is lower than you expected it to be, the first thing you should try is cleaning the lens with a dry microfiber cloth. If that doesn’t work, open your webcam’s settings and see if you can adjust the quality.
If you notice a drop in quality while video calling, your internet connection is likely to blame. You can try:
- Clearing your cache
- Adjusting the lighting
- Connecting to a new network
- Moving your MacBook closer to your router
- Getting a Wi-Fi extender

