How Do You Know If Your Nest Thermostat Is Bad?

By Trae Jacobs,

When you buy through our links, we may earn an affiliate commission.
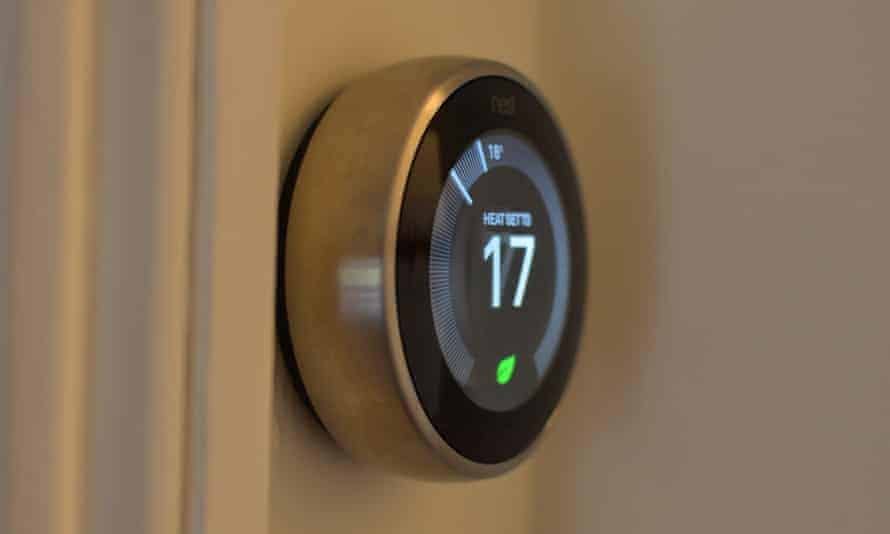
Nest Thermostat is one of the best-selling smart thermostats on the market today. Although the reviews are exceptional for this product, even the best systems have some downfalls. The average lifespan of a Nest Thermostat is about 10 years, there are still times when your Nest thermostat can go bad.
The most common reason a Nest thermostat can go bad is likely due to the battery, however; this is not the only reason your Nest thermostat can go bad. Other tell-tale signs that your Nest Thermostat is going bad are, but not limited to:
- Loss of Wifi connection
- Sudden reboots or shutdowns
- Overheating
We will discuss the above and other reasons for battery issues in more detail later in this article. Keep reading to learn about the battery issues, how to resolve the issues, and what to do if the battery is causing your thermostat to work improperly.
Nest Thermostat Problems
Even though Nest Thermostats are one of the most popular smart thermostats, it is still not uncommon when problems arise. Self-diagnosing some of these problems with troubleshooting is a much cheaper option than throwing the whole thermostat away for a newer Nest Thermostat generation.
Let’s begin learning about battery issues and how to alleviate these problems.
Bad Batteries on Standard Nest Thermostat
Nest Thermostat uses your home’s HVAC to push power. In the event your HVAC is not pushing as much power, the Nest Thermostat uses 2 AAA alkaline batteries as a backup. The Nest Thermostat will notify your Home app and the thermostat display with a low battery message. You can easily replace the batteries by following the steps below:
- Remove the thermostat display from the base
- Open the back of the display and remove the old batteries
- Insert 2 new AAA alkaline batteries
- Place the thermostat display back on the base
If you have a Nest Thermostat E or Nest Learning Thermostat you cannot replace the batteries as described above. Instead, these thermostats have the ability to charge using a USB cable. Keep reading to learn how to charge using a USB cable.
Charging Nest Thermostat E or Nest Learning Thermostat
As mentioned above, if you have a Nest Thermostat E or Nest Learning Thermostat, backup batteries are not used. You will notice when your battery is low because the thermostat will switch off the display and will disconnect from Wi-Fi. You are not out of luck though! These Nest Thermostats have the ability to charge via USB cable. There is a USB port located on the back of these thermostats. Follow the steps below to learn how to charge using the USB port:
- Remove the thermostat display.
- Plug a USB cable into the display
- Plug into a power source such as a computer or wall, as you would your phone
Once you have plugged the thermostat display into power, you will notice a blinking light on the front of the thermostat confirming it’s charging. Once you have plugged the thermostat display into power, you will notice a blinking light on the front of the thermostat confirming it’s charging. The color of the light will vary depending how much charging is required. Typically, your thermostat will take roughly half an hour to charge. If the battery is depleted, it can take up to 2 hours to return to full battery.
Battery issues are not the only issues causing your Nest Thermostat problems. Keep reading to learn about these other issues and where to find information on troubleshooting.
Other Issues Causing Nest Thermostat Problems
Although battery issues tend to be the most common issue with Nest Thermostats, there are still other causes that can affect your thermostat. In addition to the reasons mentioned at the beginning of the article, these are more issues that may be causing problems with your Nest Thermostat:
- Not controlling heating or cooling properly.
- Obstructed or otherwise not properly working motion sensors
- Unresponsive displays or changes created from phone are unresponsive
These additional problems mentioned are not “typical” problems. If you happen to have any of the issues above or if you know the battery is not causing problems, reviewing the Nest Thermostat Troubleshooting sources available on Google will be the most informative to diagnose and fix the problems.
When Troubleshooting Doesn’t Work
If you have taken the steps to self-diagnose your Nest Thermostat problems but want to ensure you didn’t overlook an aspect of the Nest Thermostat before immediately replacing it, you can contact Nest Support. If the problem can only be fixed by replacing your Nest Thermostat, it has reached the end of its life. In this event, if your Nest Thermostat is still under warranty, Nest Support may supply you with a replacement thermostat at no-charge.
Although purchasing a new thermostat is not ideal, if your Nest Thermostat is no longer under warranty and you want to continue to use Nest products with your home, you can shop for new Nest Thermostats (even newer generation Nest Thermostats than what you had) online. This Nest 3rd Generation Thermostat has over 11,000 5-star reviews.
Conclusion
The technology used with Nest Thermostats are some of the most advanced for smart thermostats, but this does not alleviate these systems from ever having problems or going bad.