How to Set Up a Schedule for Your TP-Link or Kasa Smart Plug
By Trae Jacobs,
When you buy through our links, we may earn an affiliate commission.
If you’re looking to automate your lights or other devices, setting up a schedule on your TP-Link or Kasa Smart Plug is the perfect solution. Here’s how to do it step by step.
Setting a Schedule
- Open the Kasa App:
- Launch the Kasa app on your smartphone.
- Select the smart plug you want to schedule.
- Access the Schedule Option:
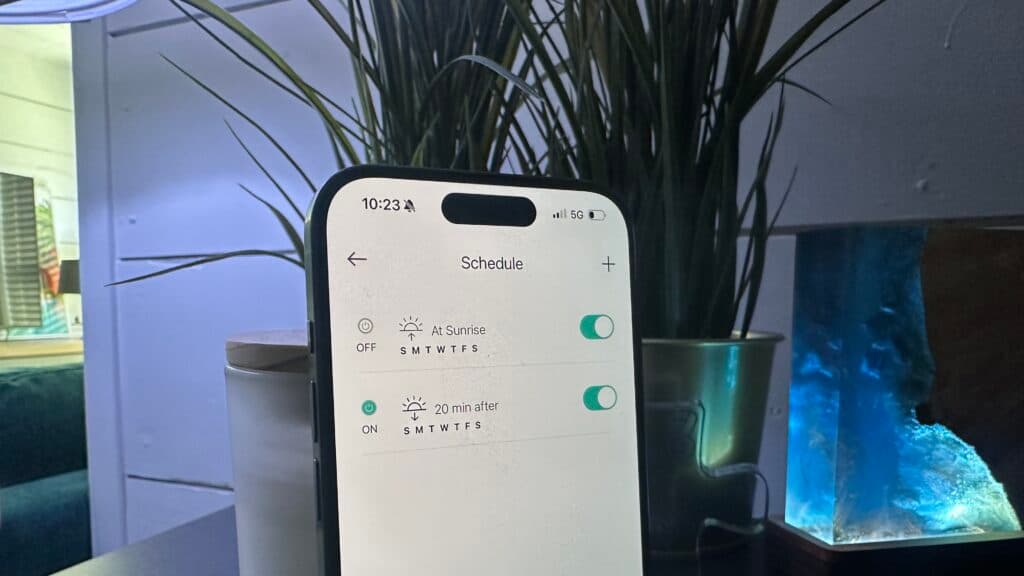
- Scroll to the bottom and tap on Schedule.
- Tap the plus icon (+) to add a new schedule.
- Set a Power-On Schedule:
- Select Turn On.
- Choose the time:
- For example, set it to 20 minutes after sunset.
- Customize the repeat days:
- Leave all days selected for a daily schedule, or deselect specific days as needed.
- Tap Save to confirm.
- Set a Power-Off Schedule:
- Tap the plus icon (+) again and select Turn Off.
- Choose the time:
- For example, set it to Sunrise to automatically turn off your lights when the sun comes up.
- Repeat the steps for customizing the days and tap Save.
Your smart plug is now scheduled to turn on and off automatically.
Additional Automation Features
- Timer:
- Use this to turn your device on or off for a specific duration. For instance, set the lights to turn off automatically after 30 minutes.
- Away Mode:
- This feature is great for vacations. It turns your devices on and off randomly to simulate someone being home.
Test Your Schedule
- Once your schedule is saved, test it by observing if your smart plug adheres to the set times.
- Ensure your other smart devices are synced to create a cohesive home automation experience.
That’s it! You’ve now automated your TP-Link or Kasa Smart Plug with ease.
Keep Reading

