Beats Studio Buds – How to Turn on Noise Cancelling


When you buy through our links, we may earn an affiliate commission.
Wireless headphones and earbuds have taken the world by storm. In particular, the Beats Studio Buds’ ability to totally cancel out surrounding noise is one feature many enjoy using. But, some people wonder how exactly they can activate the noise cancelling feature on their Beats Studio Buds.
Generally, you can activate Beats Studio Buds’ noise cancellation feature by pressing and holding the “b” icon on the earbuds. However, there are a few other ways to activate this feature depending on the device you are using them with.
Below, we will discuss everything you need to know to activate noise cancelling on your Beats Studio Buds, whether you’re using an Android or iOS device. Keep reading to learn more!
How to Turn on Noise Cancelling on Beats Studio Buds
Noise cancelling allows you to listen to any song or other audio through your headphones without the interference of noise from the world around you. Users can shut themselves out from the rest of the world and get lost in their favorite music.
There are a few ways you can activate Beats Studio Buds’ noise cancelling feature. Generally, these methods can be classified into ways that will work for:
- All users
- iPhone users
- Android users
Different approaches work for each of these users. Below, we will walk you through these separate procedures.
How to Activate Noise Cancelling for All Users
Ready to turn noise cancelling on and have a moment alone with your favorite artist, no matter what type of device you’re using? Well, here’s what to do.
Once you have your earbuds inserted, hold down on the “b” icon on your Studio Buds. Keep the button pressed down until you hear a beep. This step is important, as different types of presses will yield different results.
Pressing and holding down the button will switch your headphones between three different modes: noise cancellation, off, and transparency mode. If you’re using an iOS device, Siri will inform you of which mode you’ve entered. If you’re using a non-Apple device or do not have Siri activated, you will be able to tell that noise cancellation is active as external noise melts away from your ears.
How to Activate Noise Cancelling for iPhone Users
iPhone users can activate the Beats Studio Buds’ noise cancelling feature through one of two different approaches. The first can be done through the settings and the second through the control center.
Using the Settings Approach
One of the easiest ways to activate noise cancelling on an iPhone is through your device’s settings. Follow the three steps below to do so:
- Go to your phone settings, then open the Bluetooth settings.
- Find your Beats Studio Buds under the list of connected Bluetooth devices. Press the encircled “i” next to the earbuds’ name.
- From the interface displayed, choose “Noise Cancellation” to turn it on. When you’re ready to turn noise cancellation off, switch the button to “off.”
If you want, you can also choose “Transparency” mode for a blend of external sounds in conjunction with your digital audio.
Using the Control Center Approach
Many iPhone users prefer the control center approach over the settings approach. This is often a quicker way to turn on your earbuds’ noise cancelling feature. Follow the steps below on your iPhone or iPad:
- Swipe to open your device’s control center.
- Find the volume slider, then press and hold it until additional options pop up.
- Tap the noise control button, then choose “Noise Cancellation” from the list of options.
Here, you will also find options to activate Transparency mode or turn noise cancellation off.
How to Activate Noise Cancelling for Android Users
If you decide not to follow the general procedure as an Android user, here’s another, although more involved, way to go about it.
- Download and install the Beats App on your phone.
- Open the Beats App, then choose your Beats Studio Buds.
- Tap the noise cancellation icon that appears to activate the feature.
When you’re ready, you can use this same method to turn noise cancelling off once again.
Advantages of Using Beats Studio Buds
Noise cancellation features aren’t the only benefit of using the Beats Studio Buds! These earbuds offer many advantages to users.
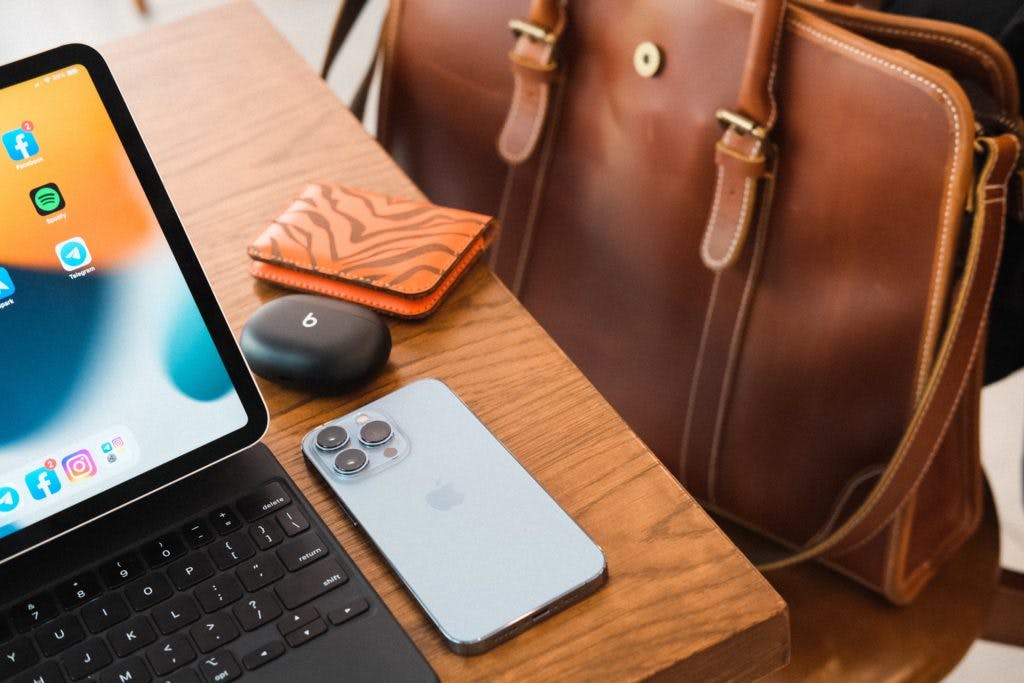
One of the biggest benefits of Beats Studio Buds is that they’re extremely portable. You can conveniently carry your miniature-sized buds anywhere you want to listen to music. Beats Studio Buds are also ipx4-rated, meaning they are relatively water-resistant.
When Active Noise cancellation (ANC) is on, your Studio Buds’ battery can last as long as eight hours. With ANC off, they have a battery life of up to five hours.
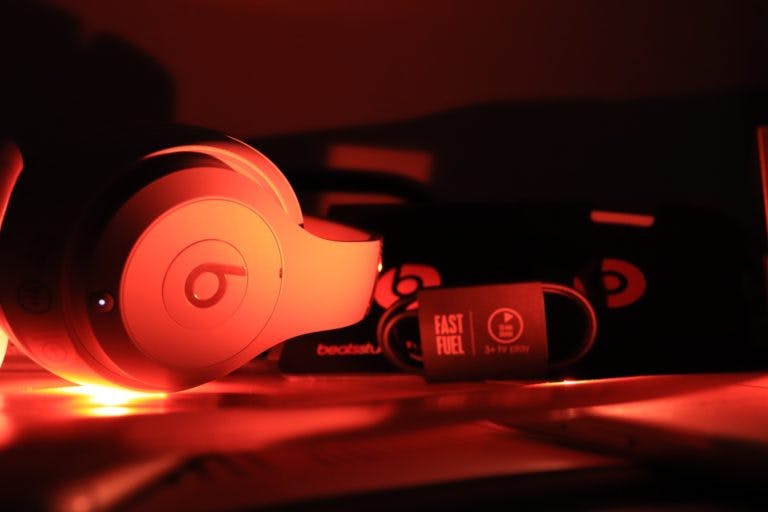
Beats Studio Buds’ charging case provides supplemental power for your earbuds. A fully-charged case will usually have enough power to charge your earbuds twice before it needs to be plugged back in. This allows you to enjoy your headphones for 24 continuous hours with ANC turned on, and 15 continuous hours when it’s off.
Conclusion
With their vibrant sound, avid music listeners and fans of quality sound in general always enjoy using Beats Studio Buds. Learning to use their noise cancelling feature can be tricky at first, but once you follow the steps listed above, you’ll be able to sit back, relax, and alternate between features as you immerse yourself in the world of sound and music.