How to Unbox and Set Up Your iRobot Roomba i3+

By Trae Jacobs,

When you buy through our links, we may earn an affiliate commission.
Your new Roomba i3+ is sitting in its box waiting to be assembled. You can get it running in just a few simple steps.
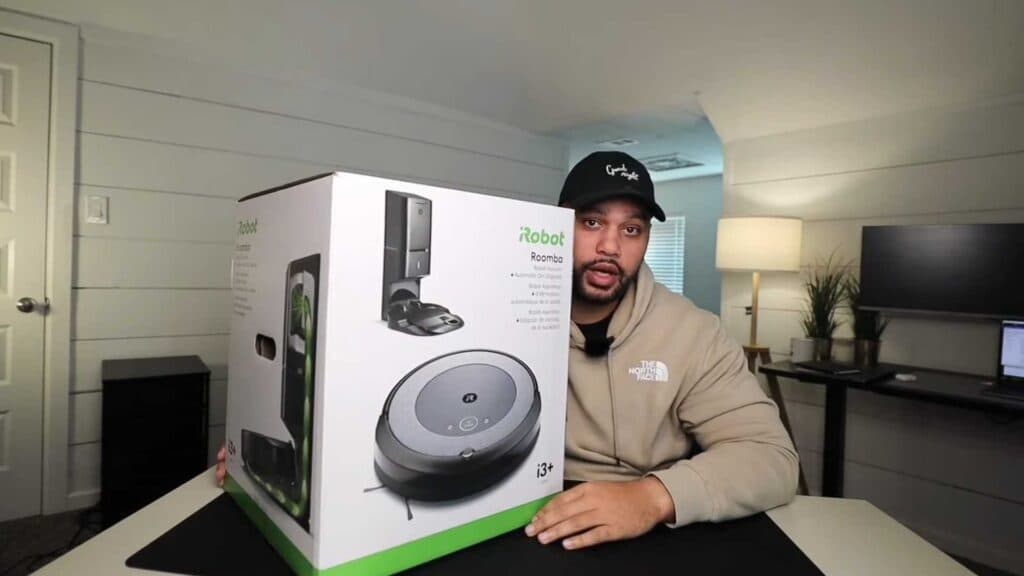
- Unbox the vacuum and the self-emptying base, ensuring you have the power cord, extra filter, and included disposal bags ready [0:47].
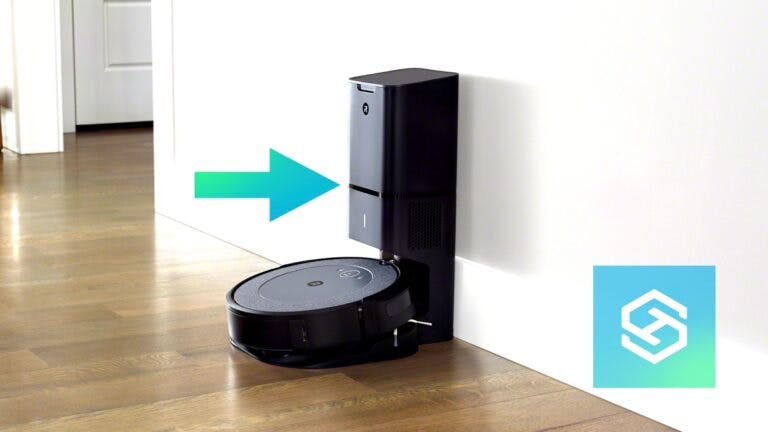
- Place the large charging base against a wall in an open area, keeping in mind its significant footprint [3:17].
- Inspect the robot by flipping it over to see the multi-surface rubber brushes and sensors [1:56].
- Verify that a disposal bag is properly installed inside the base unit, as this is where the vacuum will automatically empty itself [3:38].
- Check that the evacuation tube on the bottom of the robot aligns correctly with the hole in the base to ensure successful debris transfer [4:36].
- Dock the Roomba on the base to begin charging and prepare it for its first mapping run.
Ninja Tip: Keep the area around your base completely clear of obstacles for at least four feet on all sides, as the vacuum needs a clean path to dock reliably without bumping into furniture. If you find your robot is struggling to return to its home, simply move the base to a wider, more accessible wall space.
If you ever need to perform a factory reset, look for the reset button or instructions within the iRobot Home App under Settings > Robot Settings.
Keep Reading