How to Protect Cells and Sheets in Google Sheets

By Trae Jacobs,

When you buy through our links, we may earn an affiliate commission.
People are editing data in your Google Sheets that you want to keep locked down. You can prevent unauthorized changes by setting specific protection permissions for your cells and sheets.
- Select the specific data range you want to secure and go to the Data menu to choose “Protect sheets and ranges.” [0:29]
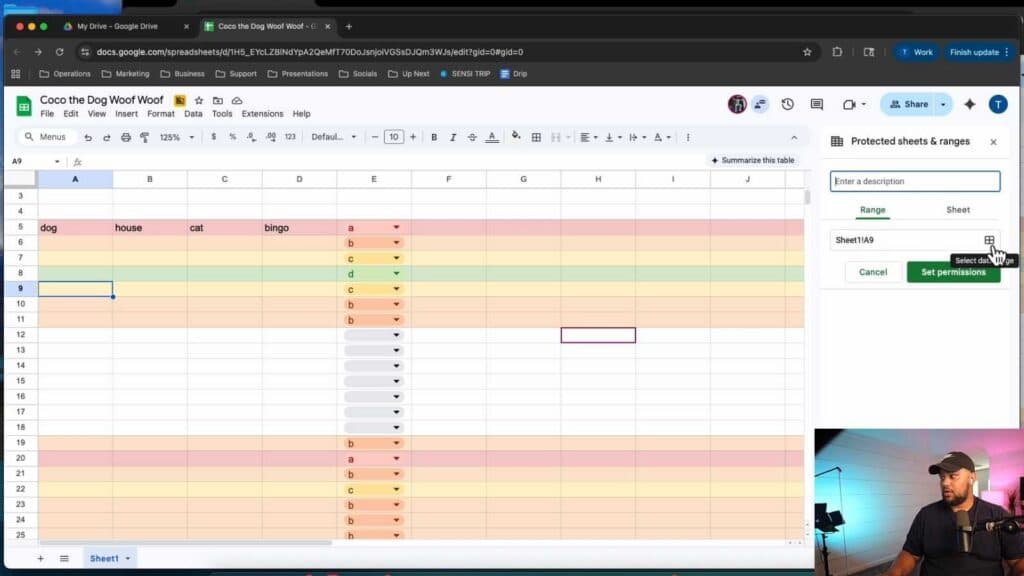
- Click “Add a sheet or range” to define the area you want to lock and then select your data range. [0:46]
- Choose “Set permissions” and restrict who can edit the range by removing yourself or other users from the editor list. [1:04]
- To lock an entire sheet instead of just specific cells, select the “Sheet” option in the protection sidebar after clicking “Add a sheet or range.” [2:30]
- Once you define the sheet or range, save your settings to finalize the restrictions for all collaborators.
Ninja Tip: You can quickly check who currently has access to your document by clicking the “Share” button at the top right of your sheet; always audit this list before applying complex protections to ensure only the right people have permission to make changes.
If you need to completely restrict access to the file, change the document sharing settings via Share > General access > Restricted.
Keep Reading


