How to Install Lutron Caseta 4-Way Switch


When you buy through our links, we may earn an affiliate commission.
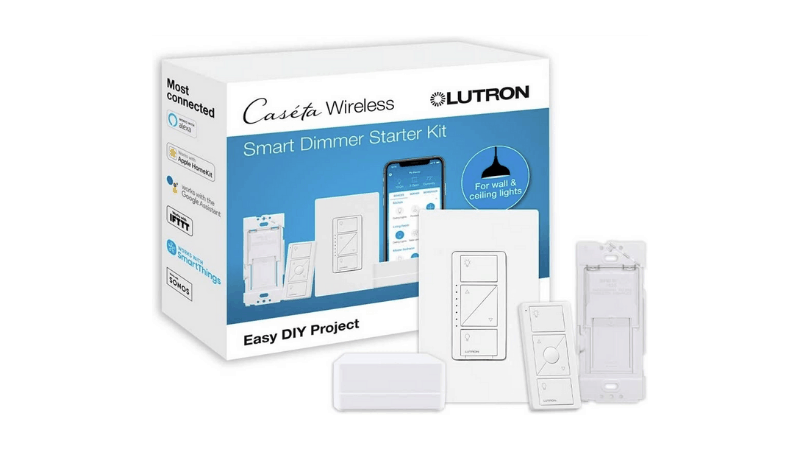
Lutron Caseta dimmers are a great way to control the lighting in your home and make the ambiance more comfortable and customized. A 4-way dimmer will give you four locations for switches in the home that all control the same light. Installing them may be a little complicated, but with the right guide, you can DIY.
You might be wondering exactly how to install the Lutron Caseta 4-way. Don’t worry. We will go over the steps in this article in more detail. We will also go over some troubleshooting tips and explain how the Pico Remote works with the device.
Gather Your Tools and Turn Off the Power
Installing the Lutron Caseta can be a simple DIY project if you follow this guide and use some basic equipment:
- A Level
- Voltmeter or Induction Tester
- Wire Strippers
- Philips Screwdriver
- Flat Head Screwdriver
Once you have the right tools, make sure you turn off the power to the switches and wires you will be working with.
Remove the Mechanical Switches
For the central location:
- Remove the switch.
- Tie both the travel pairs together, red to red and black to black.
- Tuck the wires back into the box.
- Install the Pico remote on the old switch to hide the new wires.
- Put the cover back onto the plate.
Install the Lutron Caseta 4-Way Switch/Dimmer
For the first switch, begin by removing one of the old switches you have:
- Remove the old device.
- Spend a few minutes looking at the wiring and identifying the wires and where they connect.
- Connect the Caseta Switch to the black wire.
- Cap, tape, or wire nut the exposed end of the red wire.
- Install the cover plate with the screws provided.
For the second and third switch:
- Remove the old device.
- Connect the black wire to the Caseta switch.
- Cap, tape, or wire nut the exposed end of the red wire.
- Take the black wire and tie it through to the power.
- Place the wires back into the box carefully. Make sure to follow the instructions on the sticker that comes with the wall mount.
- Install the Pico Remote onto the wall mounting plate.
- Mount the wall mounting plate securely onto the wall.
- Install the cover plate over the wall mounting plate.
- Level it the level tool to make sure it’s straight.
Remember that the way you hook up the screws and terminals matter. If you connect them the wrong way, they will not work properly. Here’s a guide to follow:
- Brass Screw = Power out
- Silver or White Screw = Neutral
- Black Screw = Line In/Constant Power
- Black Wire = Traveler 1
- Red Wire = Traveler 2
- White Wire = Neutral
- Bare Copper Wire = Ground
You should see five wires in the center location: Two reds, two blacks, and a ground. You will always connect the same colors together in the plate.
If you need extra help with the programming, you can check the full guide on Caseta’s website. If you are having a hard time figuring out which wires are the travelers or where you should be connecting them, use the voltmeter. Remember to switch off all power to avoid damage to yourself and others.
You can also use this guide for diagrams of the wiring to see where you should be connecting the wires. If you prefer to watch videos, you can watch this tutorial on YouTube.
Can You Put a Caseta Dimmer on a 4-Way Circuit?
The Lutron Caseta can be put on a 4-way circuit (same as a 4-way switch) by using the directions above. However, you will need to use the Pico remote to control all the circuits and dimmers.
The Pico wireless remote lets you connect all the dimmers and control them all with one click of a button. It also has the following features:
- Can be used as a wall-mount control, table-top control, or handheld control
- Easily add a new or additional point of control without any new wires
- Small and compact makes it blend in with your walls and regular light switches
- Indicator LED light to show you it’s working
Troubleshooting Lutron Caseta 4-Way Installation
If you have followed the above guide and your 4-way switch isn’t working, try the following:
- Make sure all the wires are connected together correctly
- Make sure the power is turned back on
- Ensure that the Pico Remote is connected and the LED light is white or green
In Summary
The easiest way to install a Lutron Caseta 4-way dimmer is by removing all the old switches and then replacing them with Caseta dimmers by connecting the same color wires together. Then, connect the Pico remotes.