How to Connect Your TP-Link Kasa Smart Bulb to Wi-Fi

By Trae Jacobs,

When you buy through our links, we may earn an affiliate commission.
Your TP-Link Kasa smart bulb is failing to connect to your home network. You can fix this connectivity issue by following these steps.
- Download the Kasa Smart app from your phone’s app store and open it. [0:36]
- Tap the plus (+) button in the top-right corner of the app and select the Smart lights option to add your device. [1:04]
- Power off the lamp, remove the old bulb, and install your new Kasa smart bulb. [1:25]
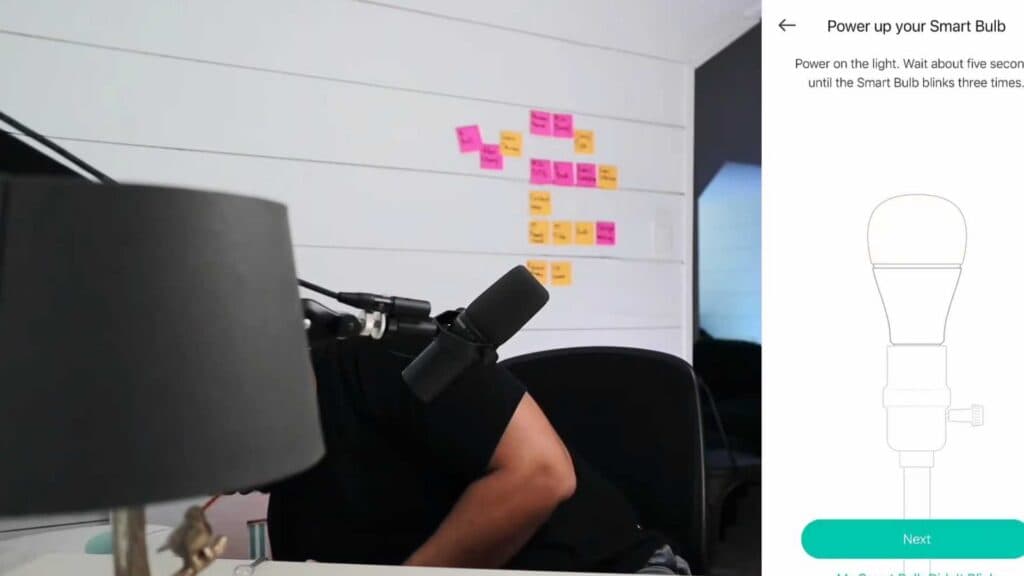
- Turn the power on and wait about five seconds until the bulb blinks three times to indicate it is ready for setup. [2:05]
- Go to your phone’s Wi-Fi settings and connect directly to the smart bulb’s local network signal. [2:18]
- Return to the Kasa app and tap the I’m already connected button to choose your home Wi-Fi network and establish the link. [2:48]
- Name your new device and assign it to a location in your home to finish the configuration process.
Ninja Tip: If your bulb won’t connect, ensure your phone is using a 2.4GHz Wi-Fi band because Kasa bulbs are not compatible with 5GHz networks. You can also try disabling your phone’s cellular data temporarily while pairing to prevent the app from switching to a different connection.
If you still encounter errors, you can perform a factory reset by turning the light switch off and on five to ten times depending on your specific model.
Keep Reading