How to Change the Wi-Fi Network on Your Nintendo Switch

By Trae Jacobs,

When you buy through our links, we may earn an affiliate commission.
Your Nintendo Switch is currently connected to the wrong Wi-Fi network. You can update your internet settings to the correct connection in a few minutes.
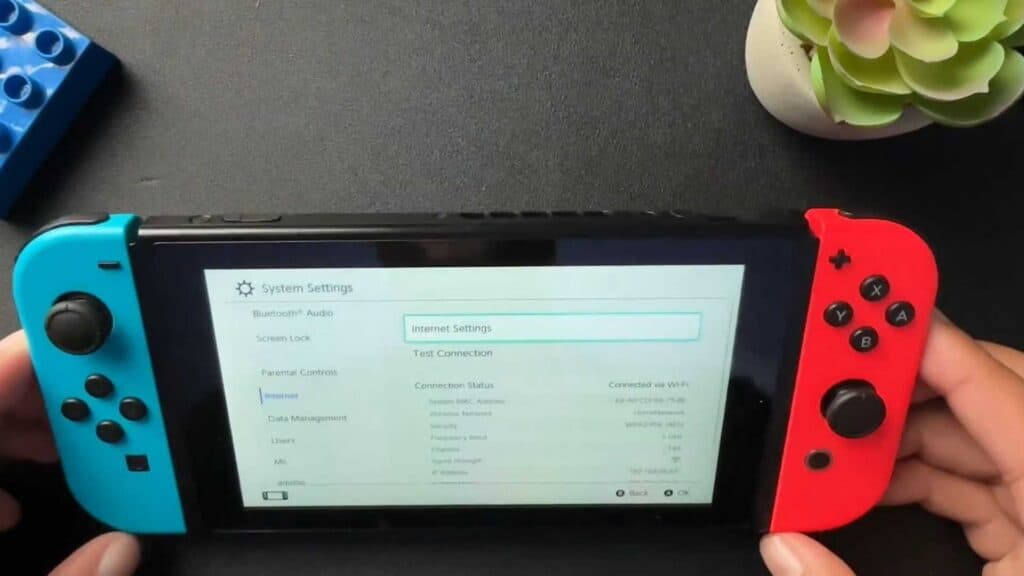
- Navigate to your console’s home screen and select the System Settings icon [0:08].
- Scroll down the left-hand menu to find the Internet option and select it [0:16].
- Click on Internet Settings to begin the search for available networks in your area [0:22].
- Pick your preferred network from the list, enter the password, and confirm by clicking OK to establish the connection.
Ninja Tip: If your Switch fails to find your network, ensure you are using a 2.4GHz frequency rather than 5GHz, as some older routers or signal configurations can cause connection issues on the console.
If you continue to experience connectivity issues, you can initialize your console by navigating to System Settings > System > Formatting Options > Initialize Console.
Keep Reading


