How to Change iPhone Photo Format from HEIC to JPEG

By Trae Jacobs,

When you buy through our links, we may earn an affiliate commission.
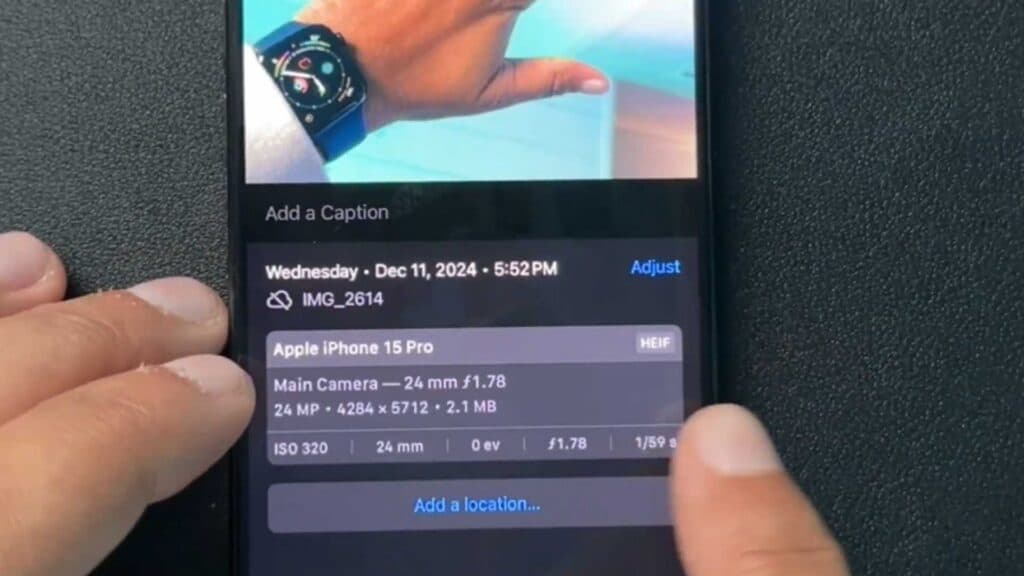
Your iPhone saves photos in the HEIC format, which is not compatible with all your devices. You can change your settings to use the standard JPEG format instead.
- Open your Settings app, scroll down to Camera, tap Formats, and select Most Compatible [0:46].
- Open an existing photo in your Photos app, tap the share button, and select Copy Photo [1:28].
- Open the Files app, browse to the “On My iPhone” section, long-press to create a new folder, and paste your photo inside to have it automatically convert to a JPEG [1:40].
- Tap the share button on the converted file in the Files app and select Save Image to move the new JPEG back into your Photos app.
Ninja Tip: To avoid manual conversion when moving photos to your computer, go to Settings > Photos, scroll to the bottom, and select “Automatic” under the Transfer to Mac or PC section. This ensures your iPhone converts images to JPEG files during the import process.
If you need to reset all camera settings to their original state, go to Settings > Camera > Preserve Settings and toggle off any custom configurations.
Keep Reading