How to Add and Manage Page Breaks in Google Docs

By Trae Jacobs,

When you buy through our links, we may earn an affiliate commission.
Your text currently continues onto the next page where you do not want it to. You can easily fix this by inserting specific types of breaks to control your document layout.
- Place your cursor on the last line of text before the section where you want the break to occur [0:28].
- Navigate to the top menu, select Insert, then Break, and choose Page break [0:37]. Alternatively, press Command + Enter if you are using a Mac [0:48].
- If your document uses columns, place your cursor where you want the new column to begin and select Insert > Break > Column break [1:38].
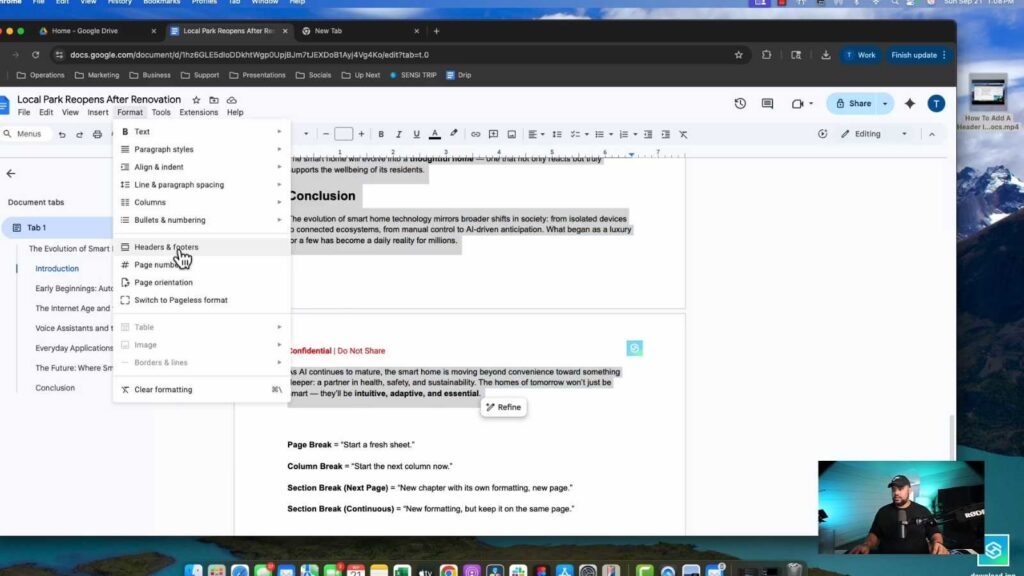
- For advanced layout needs, select Insert > Break to choose between a Section break (next page) or a Section break (continuous), which allows you to apply different formatting like page orientation to specific parts of your document.
Ninja Tip: You can quickly view where all your breaks are located by going to View > Show non-printing characters, which displays symbols for page and section breaks directly in your document.
To restore your document to its default state, select all text and go to Format > Clear formatting.
Keep Reading


