How to Add and Format a Header in Google Docs

By Trae Jacobs,

When you buy through our links, we may earn an affiliate commission.
Your document needs a header to display information at the top of every page. You can easily add and customize one by following these steps.
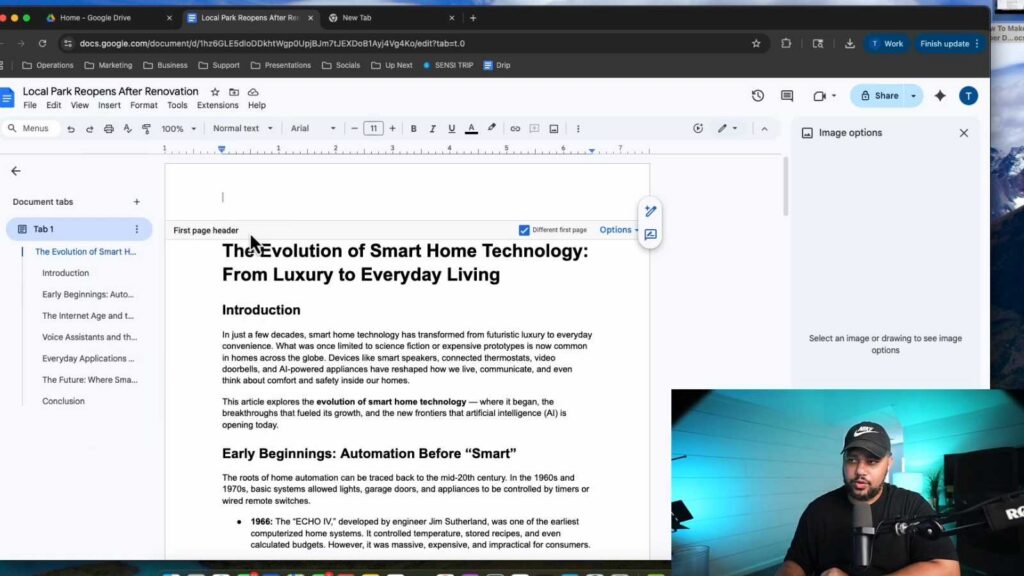
- Double-click the very top section of your page to open the header area [0:29].
- If you want the header to be different or absent on your first page, check the “Different first page” box in the formatting menu [1:00].
- Type your desired text into the header and use the standard toolbar options to change the font color, style, or size [1:42].
- To add a logo, go to “Insert,” select “Image,” and upload your file from your computer [2:14].
- Select your image, click the three dots for “All image options,” and set the text wrapping to “Wrap text” so you can move and position the logo freely [2:29].
- Adjust the header margins by going to the header format settings and changing the values for the header and footer spacing to create more room [4:32].
- Add page numbers or any other necessary elements before clicking out of the header section to save your changes.
Ninja Tip: You can insert automatic page numbers by going to “Insert” > “Page numbers” and choosing your preferred layout, which saves you from manually updating every page when you add new content.
If you need to revert your document settings to the default state, go to File > Page setup.
Keep Reading


