Can You Install a Nest Hello Without an Existing Doorbell?

By Trae Jacobs,

When you buy through our links, we may earn an affiliate commission.
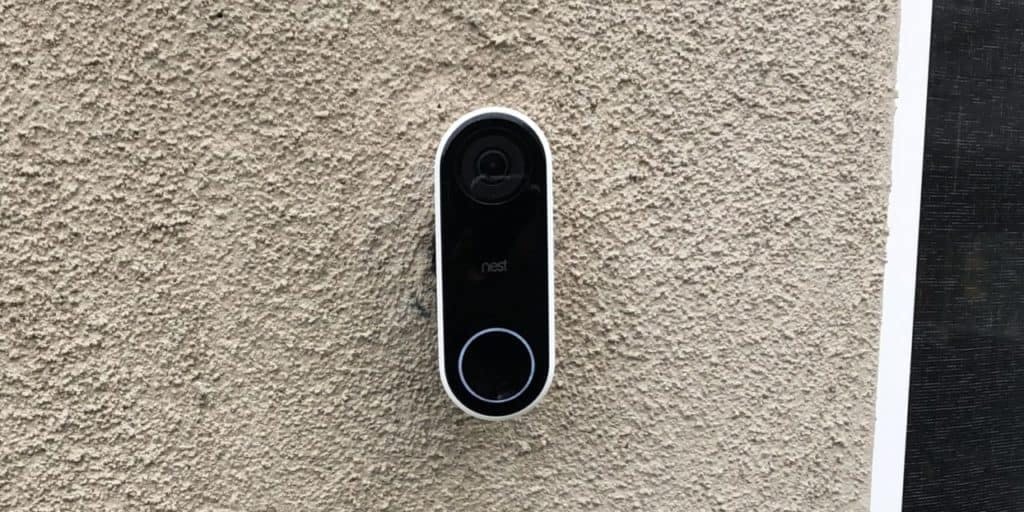
The Google Nest Hello is quickly becoming a staple in the smart home world, providing homeowners with a smart doorbell that doubles as a security camera. However, buyer beware—there will be some extra steps involved if you don’t already have an existing doorbell installed.
You can install a Nest Hello without an existing doorbell by using an indoor power adapter and following these steps:
- Drill a hole where you want to mount the wall plate.
- Pass the wire through to connect the device.
- Push it into the wall plate until it clicks.
It sounds relatively simple, but once installed, the Google Nest Hello brings security and convenience to your smart home. Thanks to the Google ecosystem, The Google Nest Hello is great for those who want to hear the traditional doorbell chime or for those who want to personalize the chime Nest Hello makes when family and friends visit.
Nest Hello Installation Without Existing Video Doorbells
The Google Nest Hello is relatively simple to install, even for beginners. So long as you have the necessary tools, the work itself is fairly straightforward.
With an existing doorbell, you would need to unplug the power and attach it to the Nest Hello. Without an existing doorbell, you just need to drill a few extra holes where you want the Nest Hello to be and purchase an indoor power adapter for the device.
If you’re not up to installing the Nest Hello or the indoor power adapter, also known as an indoor plug-in transformer yourself (or you’re worried about the safety of doing so), you can always find a professional to do it. Connecting the Nest Hello to existing wired doorbell transformers is also possible.
We’ve also reviewed the Google Nest Doorbell to test out the installation process!
Nest Hello Installation Without Existing Wired Doorbells
Before you begin installing your Nest Hello, you’ll need a few tools for the task. These include:
- Phillips screwdriver
- Pen or pencil
- Power drill
- Phillips bit
- Long wood or masonry drill bit
Once you have these tools, you’ll be ready to begin.
Figure out where you’re going to install the doorbell.
Most doorbells are placed around 4 feet (1.2 m) high. Then, hold the Nest Hello’s wall plate against the wall to mark where you’ll be drilling the hole for the power adapter’s wires to come through. The hole should be centered and in the bottom half of the main hole in the wall plate.
Make sure to turn off the power from your home’s breaker box.
You’ll also need to know where the indoor plumbing and electrical wiring are in your house; the building codes where you live should have this information, and this will make it safe to install the Nest Hello.
Decide if you want to use the wedge that comes with the Nest Hello.
This can be useful if you think that the doorbell’s camera will be blocked or positioned poorly to see what’s going on at your doorstep. Simply stick it onto the back of the wall plate.
Drill a hole for the power adapter wires.
This will be where you marked in step 1. Start by using a 3/32nd drill bit to drill two pilot holes above and below the hole for the wires – you will use these to mount the wall plate. Make sure the Nest logo is at the bottom, and screw in the top hole first. This will let you adjust the wall plate to make sure it’s straight.
Leaving the adapter unplugged, slip the grommet over the adapter cable.
Do this before running the cable through the hole to the outside, and connect them to the Nest Hello. It doesn’t matter which wire is connected to which terminal, but make sure that the cables are pointed down so that any excess can be tucked back through the wall.
Attach the Nest Hello to the wall plate.
It should push in with a click. If it doesn’t click in, check to make sure that any excess wire is tucked behind the hole. Now, you can plug the adapter into an outlet, and your Nest Hello will turn on and be ready for use.
Here’s a helpful video from Google that shows how to install the Nest Hello for those who prefer to watch the step-by-step process, including connecting the Nest Hello to the Nest app.
Nest Doorbell: Power, WiFi, and a Chime
Three main components allow the Google Nest Hello to work: power, a wireless internet (WiFi) connection, and a chime connector.
Power
The Google Nest Hello requires between 16V to 24V AC. For those without an existing doorbell, purchase an indoor power adapter, also known as a plug-in transformer, that can provide power between this range. The Nest Hello does not operate on batteries (rechargeable or otherwise), so it needs to be plugged in at all times to function.
Wireless Internet Connection
For the Google Nest Hello to send notifications to your phone through the Nest app or another Google smart device in your home, it will need to be connected to the wireless internet (WiFi) network in your house.
The Google Nest Hello can use either 2.4GHz or 5GHz, but you’ll need a working broadband internet connection of at least 2 Mbps upload speed. (For those with DSL, you may have some connectivity issues).
Chime Connector
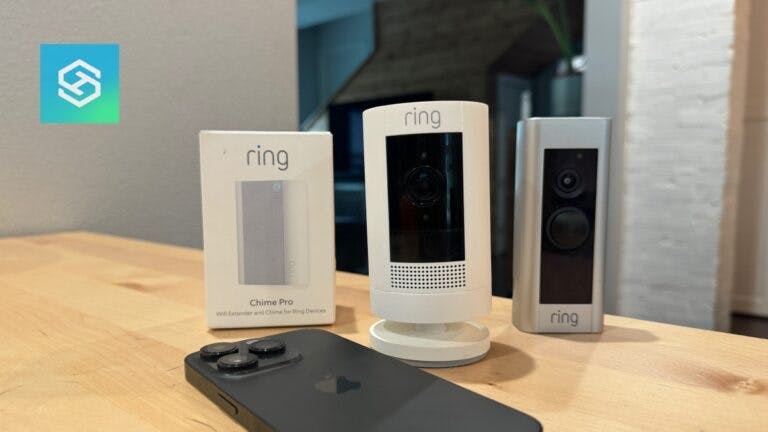
A chime connector can be linked to the Nest Hello if you already have an existing doorbell transformer. This is what makes the traditional sound you hear when someone is at your door.
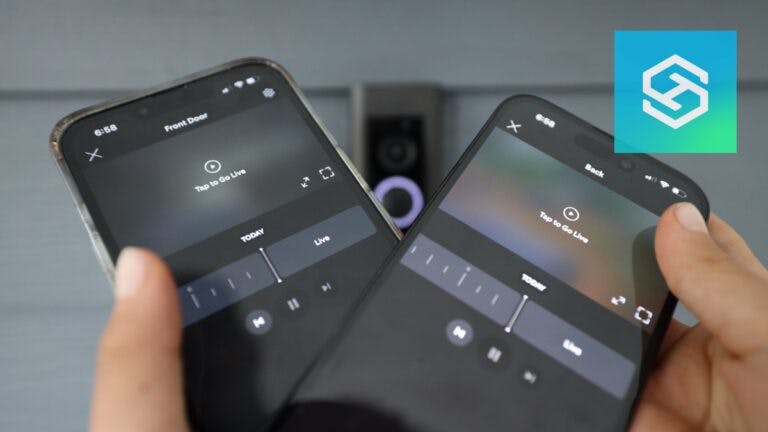
However, the Nest Hello will also send notifications to your phone (as long as you have notifications enabled) through the Nest app. (We will show you an additional workaround that makes use of the Google Nest Mini device later.)
Using Google Minis for Nest Hello Notifications
For those without existing doorbells, it’s likely that you also don’t have a chime connector. However, there’s a workaround for everything in the age of smart home devices. Another Google device that pairs well with the Nest Hello is the Google Nest Mini (which you can purchase here).
Beyond playing music and turning on smart lights, the Google Nest Mini can function as a doorbell for your Nest Hello. When you have both devices, there are six simple steps to get the Mini functioning in tandem with your Nest Hello.
- Download the Nest app and the Google Home app from either the Google Play Store or the App Store.
- Install your Nest Hello.
- Set up the Nest Hello in the Nest app and the Nest Mini in the Google Home app.
- Open the Nest app and tap on your Nest Hello doorbell.
- Go to ‘Settings,’ then ‘Visitor Announcements.’
- Follow the onscreen prompts in your Google Home app to complete the setup process.
Once you’ve completed all six steps, you’ll be able to hear announcements from your Google Nest Mini that alert you to the presence of someone at your doorstep. These announcements can be customized for friends and family through the Google Home app.
Final Thoughts
All in all, there’s no need to avoid picking up a Google Nest Hello if you don’t already have an existing doorbell. With a few extra steps, some tools, and some elbow grease, you’ll reap the benefits of security and peace of mind in no time.